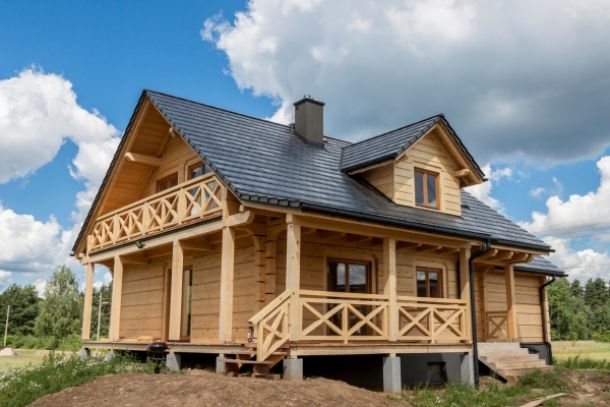
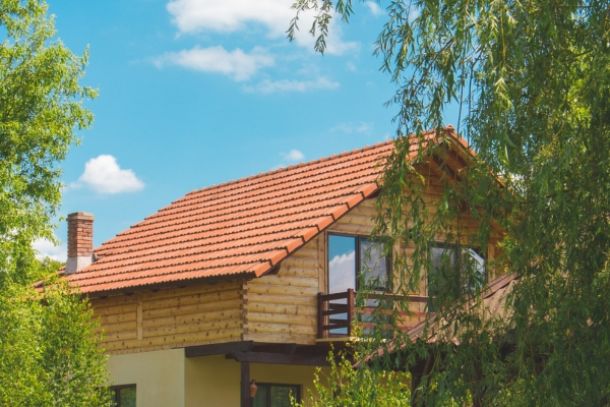
Building your own wooden house is a rewarding project that allows you to blend creativity with craftsmanship. This practical guide provides a comprehensive step-by-step approach for DIY enthusiasts who want to construct a wooden house from the ground up. Covering everything from planning and permitting to construction and finishing, this guide is designed to equip you with the essential knowledge to tackle your project confidently.
Introduction
A wooden house offers a unique combination of natural aesthetics, sustainability, and warmth. For those who want to undertake a DIY project, building a wooden house can be both a challenging and gratifying endeavor. This guide lays out a practical roadmap that addresses the key stages of the construction process. By following these steps, you can navigate the complexities of building your own wooden home while ensuring safety, quality, and long-term durability.
Step 1: Planning and Permits
The journey to building your DIY wooden house begins with detailed planning. Before you lift a tool, take the following preparatory steps:
- Define Your Vision: Create sketches or rough blueprints of your desired layout, considering the number of rooms, style, and functionality. Visualizing your final product is crucial.
- Research and Budgeting: Develop a detailed budget that accounts for materials, permits, tools, and contingency funds for unexpected expenses. Investigate local suppliers for quality wood and other materials that meet both your budget and standards.
- Permits and Regulations: Consult local authorities to understand building codes and zoning laws. Securing the necessary permits upfront avoids legal complications later in the project.
Thorough planning sets a solid foundation for your project, reducing the risk of delays or costly mistakes during construction.
Step 2: Site Preparation and Foundation
The next step is to prepare your building site and establish a robust foundation:
- Site Selection and Clearing: Choose a plot with good drainage, stable soil, and convenient access to utilities. Clear the area of debris and vegetation, and level the land to ensure a solid base.
- Foundation Choices: Depending on your location and soil conditions, decide between options such as a concrete slab, crawl space, or pier and beam foundation. Each has its advantages—while a concrete slab offers durability, a pier and beam system can be more cost-effective on uneven terrain.
- Installation: Excavate the site according to your blueprint, set up formwork, and pour the foundation. Allow sufficient curing time before proceeding to the framing stage.
A strong foundation is essential for the long-term stability of your wooden house and will support all subsequent construction phases.
Step 3: Framing and Structural Construction
Framing is where your wooden house begins to take shape. This phase requires precision and adherence to your design specifications:
- Constructing the Frame: Use high-quality, treated lumber for the frame to ensure resistance against moisture, insects, and decay. Start by building the floor system, followed by the walls and roof trusses.
- Tools and Accuracy: Utilize tools such as laser levels, digital measuring devices, and quality power saws to ensure every piece is cut and assembled precisely. Accurate framing is crucial to avoid structural issues and ensure that doors and windows fit perfectly.
- Reinforcing Openings: Plan for door and window openings early in the framing process. Reinforce these areas with additional supports to maintain the overall integrity of the structure.
Step-by-step framing not only brings your design to life but also reinforces your confidence in the DIY process as you see the structure evolve.
Step 4: Installing Insulation, Roofing, and Windows
Once the framing is complete, the next steps involve insulating the house and adding protective elements:
- Insulation: Although wood is a natural insulator, additional insulation materials (e.g., fiberglass, foam, or eco-friendly alternatives) can enhance energy efficiency. Install insulation in the walls, roof, and floor to maintain a stable indoor climate.
- Roofing: Choose a roofing system that suits your design and environmental conditions. A pitched roof is popular for wooden houses due to its efficiency in shedding rain and snow. Ensure that the roofing material—whether wooden shingles, metal panels, or composite materials—is installed with precision to prevent leaks.
- Windows and Doors: Select energy-efficient windows and doors that complement the overall design. Proper installation and sealing are crucial for reducing drafts and ensuring that the interior remains comfortable.
These steps ensure that your wooden house is well-protected from the elements, contributes to energy efficiency, and adds to the overall aesthetic appeal.
Step 5: Interior and Exterior Finishing
The finishing stage is where your house transforms into a home, blending functionality with personal style:
- Exterior Treatments: Apply sealants, stains, or eco-friendly paints to protect the wood from UV damage, moisture, and pests. Exterior finishes not only enhance durability but also highlight the natural beauty of the wood.
- Interior Design: Focus on creating a cohesive and inviting interior. Install flooring, cabinetry, and fixtures that complement the natural warmth of wood. Built-in storage solutions and custom furniture can add a personalized touch.
- Detailing: Small details, such as trim work, lighting, and accent features, bring sophistication to your design. Take the time to plan and execute these elements carefully.
Finishing touches are crucial—they ensure that your DIY project not only functions well but also reflects your unique taste and creativity.
Step 6: Maintenance and Long-Term Upkeep
Building a wooden house is only the beginning; maintaining it is key to long-term satisfaction:
- Routine Inspections: Regularly inspect the structure for signs of wear, moisture damage, or pest infestations. Early detection allows for quick repairs and prevents larger issues.
- Seasonal Maintenance: Schedule tasks such as cleaning gutters, resealing exterior wood surfaces, and checking roofing materials after severe weather events.
- Continued Learning: Stay informed about new techniques and materials that can enhance the longevity of your home. Engaging with DIY communities can provide ongoing support and inspiration.
A proactive maintenance plan ensures that your wooden house remains a safe, comfortable, and beautiful space for years to come.
Conclusion
DIY wooden house construction is a journey that blends careful planning, practical techniques, and creative expression. By following this guide, you can confidently navigate each stage—from planning and site preparation to framing, insulation, and finishing—resulting in a home that is uniquely yours. With dedication, precision, and a willingness to learn from every step, building your wooden house becomes an immensely rewarding experience. Embrace the process, celebrate each accomplishment, and enjoy the lasting satisfaction of living in a home built by your own hands.


